I was quite honoured to be asked by Antoine Marcal * to be one of the feature demonstrators for CanIRON 9:
CANIRON IX - 2013
SCHEDULED FOR JUNE 29TH THROUGH JULY 1ST, 2013
(note corrected dates!)
TO BE HELD AT « LES FORGES DU ST-MAURICE » HISTORICAL SITE
Trois Rivieres, Quebec
SCHEDULED FOR JUNE 29TH THROUGH JULY 1ST, 2013
(note corrected dates!)
TO BE HELD AT « LES FORGES DU ST-MAURICE » HISTORICAL SITE
Trois Rivieres, Quebec
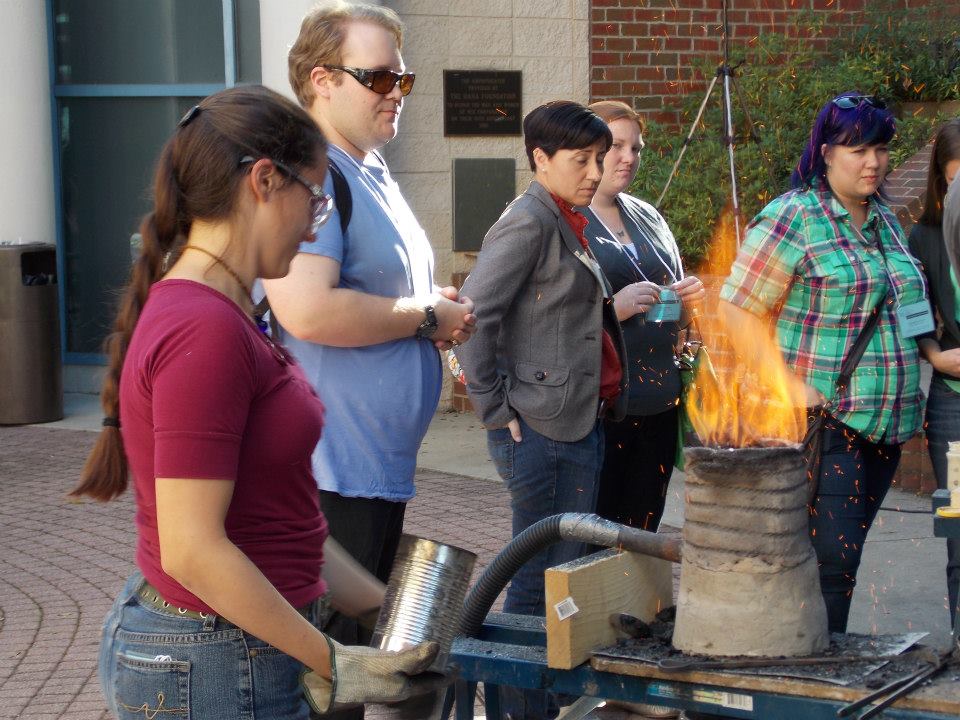
Demonstration : The Aristotle Furnace

 The Aristotle is a small sized re-melting furnace based on historic descriptions and developed by the 'Early Iron' group. It is built of clay and about the size of a standard water pail. This furnace will covert almost any iron material into 500 - 750 gram 'puck' of carbon steel in roughly 30 minutes. This makes the system ideal for those wanting to work with a bloomery type metal, especially suited to blade making.
This demonstration will cover the history of the furnace and how it is built, and illustrate several operation cycles. If time permits, at least one of the pucks will be forged to a working bar.
The Aristotle is a small sized re-melting furnace based on historic descriptions and developed by the 'Early Iron' group. It is built of clay and about the size of a standard water pail. This furnace will covert almost any iron material into 500 - 750 gram 'puck' of carbon steel in roughly 30 minutes. This makes the system ideal for those wanting to work with a bloomery type metal, especially suited to blade making.
This demonstration will cover the history of the furnace and how it is built, and illustrate several operation cycles. If time permits, at least one of the pucks will be forged to a working bar.
Workshop : Build and Run the Aristotle Furnace
Participants in this full day hands on session will each build and then operate their own Aristotle furnace, which they then can take home.
In the morning session, clay will be prepared, and the body of the furnace will be constructed. Into late morning to early afternoon, the furnace will be fire dried. In the afternoon session, each person will run their furnace through several cycles, each producing a carbon steel bloomery 'puck' of metal. If time and equipment permits, these can be forged down (under supervision) into working bars.

This workshop is limited to six participants (adults only please). There may be an additional materials cost. No specific blacksmithing experience is required to build and operate the furnace, but working a puck into bar requires the ability to forge weld. Participants are required to provide correct eye protection (including welding lenses), and should bring their personal forging tools. Those wanting to keep their furnaces should bring a milk crate or 5 gallon plastic pail for safe transport.
Biography : Darrell Markewitz
 |
| 'Hector's Bane' : Bloom iron with spring steel core : 2012 |
 |
| 'Celts at the Gate' : Mild Steel with decorative paint : 2008 |
 |  |
| 'Segmented Funeral Urn' : Wrought Iron and Copper plate : 2008 | 'Bloom Bowl 2' : Bloomery iron : 2011 |
As well as decades of teaching workshops, Darrell was a feature demonstrator at CanIRON 5 and Quad State 2008. He was the organization team leader for the 2011 CanIRON 8 at Fergus Ontario. He writes extensively, through on-line blogs, web site, journal articles and formal papers.
His interest in bloomery iron smelting started in 2001, having undertaken 50 smelts since. All with a focus on experimental archaeology as a means to understand historic processes. Darrell continues as a founding and core member of the 'Early Iron' movement in North America.
* Antoine is the only other Canadian seriously undertaking bloomery iron smelting. His work tends primarily to be focused on bladesmithing.
NOTE TO THOSE INTERESTED:
Lee Sauder, leader of the Early Iron movement, will be demonstrating with an bloomery iron smelt!


