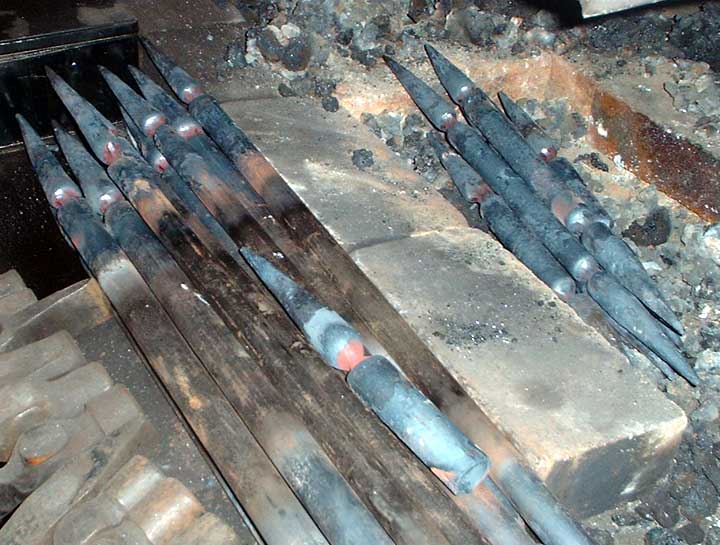
 | In the last post (Forging Elements - 'Rush Tip') the YouTube segment shows the creation of a single element - working entirely by hand. From start to finish, producing a single of the smaller pieces (from 1/2 inch ID pipe) takes about 10 minutes. The railing segments using these elements require a total of 100 such rush tips, half the larger 3/4 OD size. (Which take at least 50 % longer worked by hand!) I actually invested a fair amount of up front time in making new tools for my air hammer. This both sped up the work, but also needed a lot less physical effort on my part. |
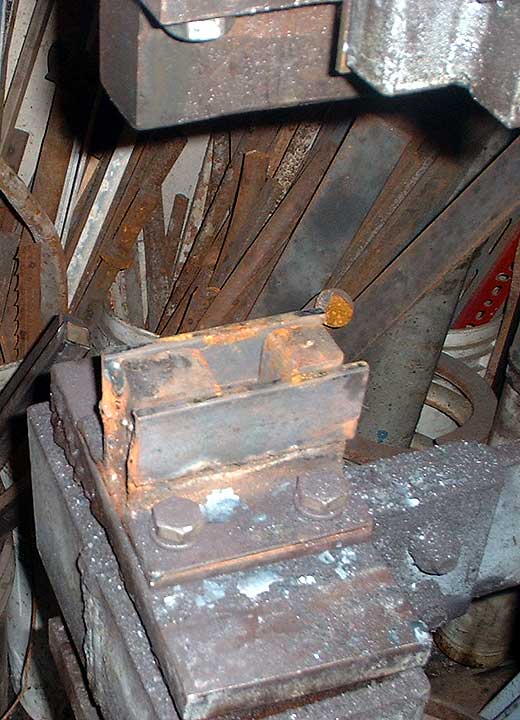 | First, I made a replacement for the normal solid bottom die on the hammer, which as you can see, bolts in place to the frame. The new die is basically a square hardie hole, at 1 x 1 inch square. The solid pieces of 1 x 1 and 1 x 1 1/2 make the body of the replacement die the same size as the matching upper die. This new die base now lets me swap over the hardie tools from my anvil on to the air hammer. |
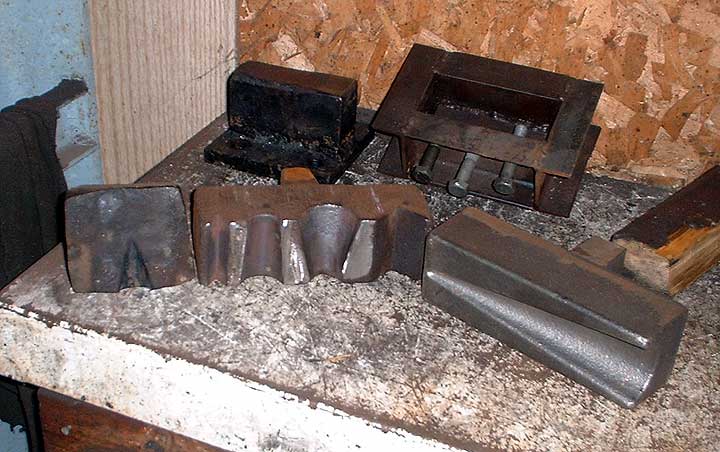 | In addition to the two bottom dies seen in the video segment, I also recently purchased the long conical die see here at the right. (Made by John Newman) This die is slightly longer than the top die on my hammer, so I could not even use it to its fullest advantage. Even still, it did completely replace the smaller two stage die seen in use in the video. The welding of the rush tips still required the use of the small cone die from the film. |
 | As seen, the last step of the forging is to shoulder in the pipe. To do this on the air hammer requires an 'anvil' segment to the die, with a mounting hole set off to one side. This is the bottom mounting die I made for this purpose. As you can see, it also slides straight into the new hardie hole bottom. The flat area is roughly the same length as the hammer top die, but extends about 3/8 inch wider on each side. This allows the base to be used for normal flattening as well. The mounting hole is again 1 x 1 inch. |
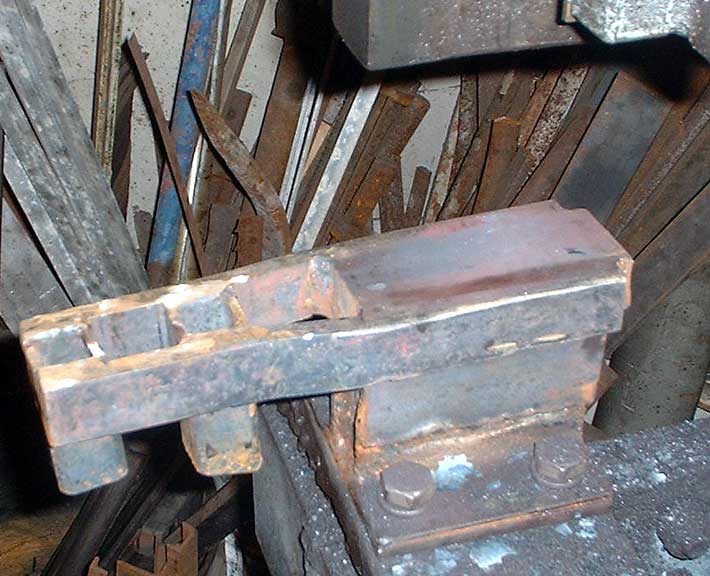
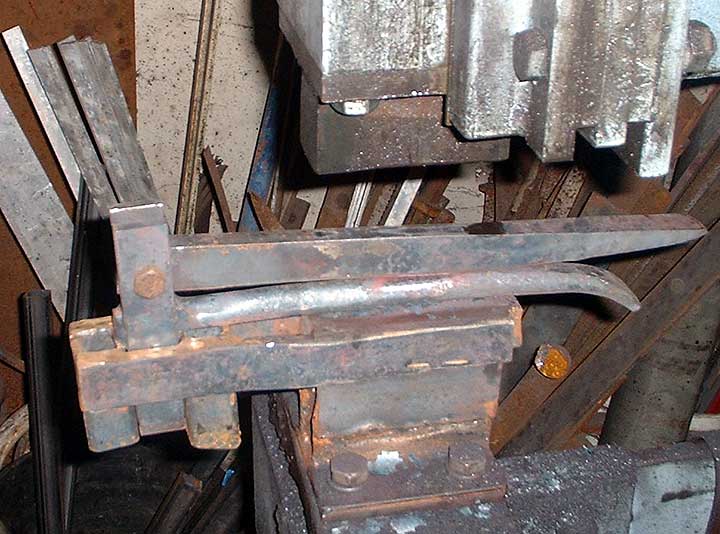 | This is the second shouldering tool I made up to use with the base above. (The first tool was a classic spring shoulder tool, which proved too awkward to use with the increased force of the air hammer.) The wide flair on the open end allows me to quickly position each of the pipe segments. Note that despite the length of the tool, the effective working area is limited to under the top die. |
With thanks to my friend David Robertson (builder of the air hammer) - who is always nagging me to make more specialized tools.


No comments:
Post a Comment